Introduction
After getting familiar with the folder structure of the Django framework, we'll create our first view in an app. The basics of creating and mapping a view with a URL will be cleared by the end of this part.
Creating Views
Views are the functions written in python as a logic control unit of the webserver
To create a view or typically-like function, we need to write a function in the views.py file inside of the application folder. The function name can be anything but should be a sensible name as far as its usability is concerned. Let's take a basic example of sending an HTTP response of "Hello World".
project_name/app_name/views.py
from django.http import HttpResponse def index(request): return HttpResponse("Hello World")
Yes, we are simply returning an HTTP Response right now, but rendering Templates/HTML Documents is quite similar and easy to grasp in Django. So, this is a view or a piece of logic but there is a piece missing in this. Where should this function be used? Of course a URL i.e a path to a web server.
We'll see how to map the views to an URL in Django in the next section
Mapping the Views to a URL
We need to first create a urls.py file in the application folder to create a map of the URL to be mapped with the view. After creating the file in the same app folder as the views.py, import the function in the view into the file.
project_name/app_name/urls.py
from .views import index from django.urls import path urlpatterns = [ path('', index, name="index"), ]
The path can be anything you like but for simplicity, we'll keep it blank('') for now.
Now, you have the path for your view to work but it's not linked to the main project. We need to link the app urls to the project urls.
To link the urls of your app to the main project folder, you need to just add a single line of code in the urls.py file of the project folder.
In projectname folder -> urls.py
project_name/urls.py
from django.contrib import admin from django.urls import path, include urlpatterns = [ path('admin/', admin.site.urls), path('', include('post.urls')), ]
You need to add the line path('', include('post.urls')), and also import the include function from django.urls. This additional statement includes the urls or all the urlpatterns in the post app from the urls.py file into the project's url-routes.
Here, the URL path can be anything like 'home/', 'about/', 'posts/', etc. but since we are just understanding the basics, we'll keep it '' i.e. the root URL.
You can also see that there is another route in our project 'admin/' which is a path to the admin section. We'll explore this path and the entire Admin Section in some other part of this series.
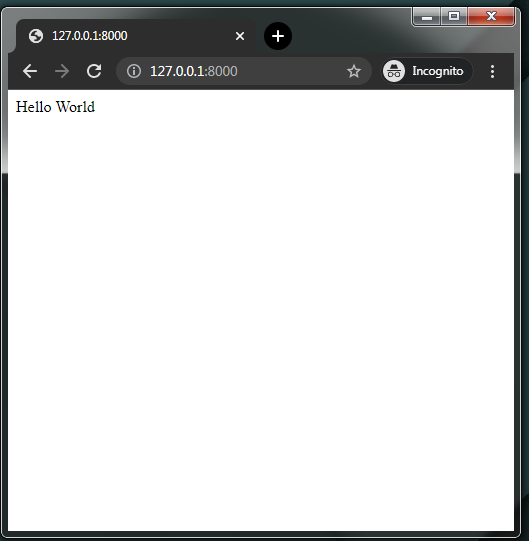
Now if you start the server and visit the default URL i.e http://127.0.0.1:8000, you will see a simple HTTP message Hello World.

Breaking the path function in urlpatterns
The path function in the urlpatterns takes in at least 2 parameters, i.e. the URL pattern and the view of any other function that can be related to the webserver.
path( ' ', view, name ) ^ ^ ^ | | | | | url_name | function_name url_path
URL path
The URL Path is the pattern or literally the path which you use in the Browser's search bar. This can be static i.e. some hard-coded text like home/, user/, post/home/, etc. and we can also have dynamic URLs like post/<pk:id>/, user/<str:name>/, etc. here the characters <pk:id> and <str:name> will be replaced by the actual id(integer/primary key) or the name(String) itself.
This is used in an actual web application, where there might be a user profile that needs the unique user-id to render it specifically for that user. The User-Profile is just an example, it can anything like posts, emails, products, any form of a content-driven application.
View
The view or the function is the name of the function that will be attached to that URL path. That means once the user visits that URL, the function is literally called. View is just a fancy word for a function(or any logic basically). There is a lot to be covered when it comes to View as there are a lot of ways to create it, there are two types of views, how to use them for various use-cases that can be learned along the way because it is a topic where the crust of Django exists.
We'll learn to create different implementations and structure our views, for time-being just consider them as the unit where every operation on the web can be performed. We can create other standalone functions in python to work with the views to make it a bit structured and readable.
URL Name
This is an optional parameter to the path function as we do not mandatorily need to give the URL map a name. This can be really useful in multi-page application websites where you need to link one page to another and that becomes a lot easier with the URL name. We do not need this right now, we'll touch it when we'll see the Django Templating Language.
Example Views
Let's create some examples to understand the working of Views and URLs. We'll create a dynamic URL and integrate the Python module in the views to get familiarized with the concept.
Dynamic URLs
We can use the dynamic URLs or placeholder variables to render out the content dynamically. Let's create another set of View and URL map.
project_name/app_name/views.py
def greet(request, name): return HttpResponse("Welcome, " + name)
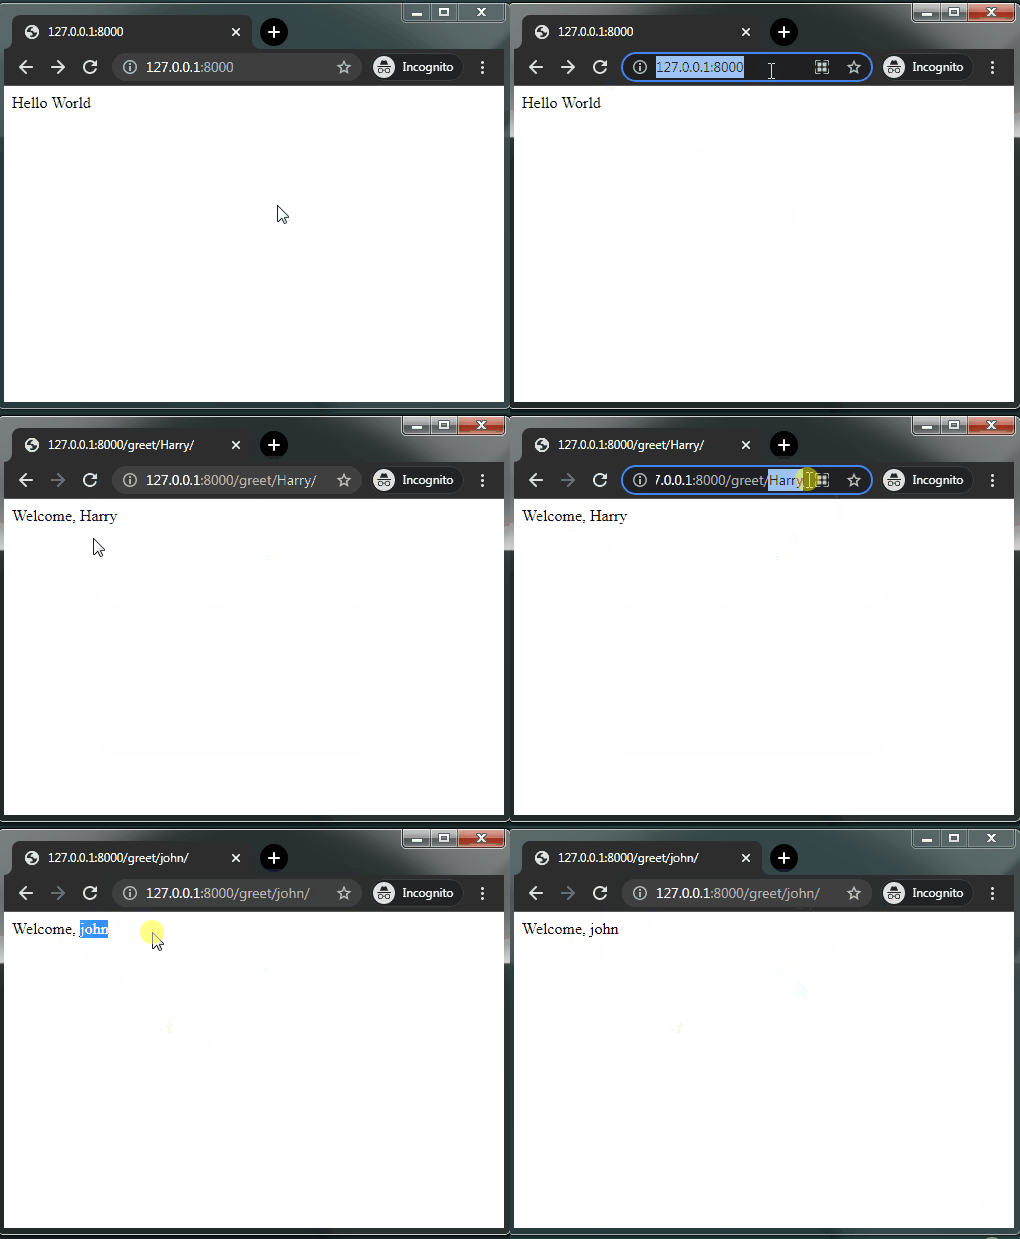
This view or function takes an additional argument called name and in response, it just says Welcome, name where the name can be any string. Now after creating the view, we need to map the view to a URL pattern, We'll add a path for this greet function.
project_name/app_name/urls.py
path('greet/<str:name>/', greet, name="greet"),
You can see how we have created the url-pattern here. The greet part is static but the <str:name> is a variable or just a URL parameter to be passed to the view as the value of the variable name. We have also given the URL map a name called greet, just for demonstration of its creation.
You'll get an error, 100% if you are blindly following me! Didn't you forget something?
Import the greet function from the views like so:
from .views import index, greet
So, after we visit the URL https://127.0.0.1:8000/greet/harry, you should see a response Welcome, harry as simple as that.

Now, how is this working? We see the view first. The function takes two parameters one is most common the request which stores the meta-data about the request, the other parameter is the name that we will be use to respond to the server dynamically. The name variable is used in the string with the HttpResponse function to return a simple string.
Then, in the URLs, we need to find a way to pass the variable name to the view, for that we use the <string:name> which is like a URL parameter to the view. The path function automatically parses the name to the appropriate view and hence we call the greet function with the name variable from the URL.
Using Pythonic things
We'll use some Python libraries or functions in the Django App. In this way, we'll see it's nearly no-brainer to use Python functions or libraries in the Django framework as indeed all files which we are working with are Python files.
project_name/app_name/views.py
from random import randint def dice(request): number = randint(1,6) return HttpResponse(f"It's {number}")
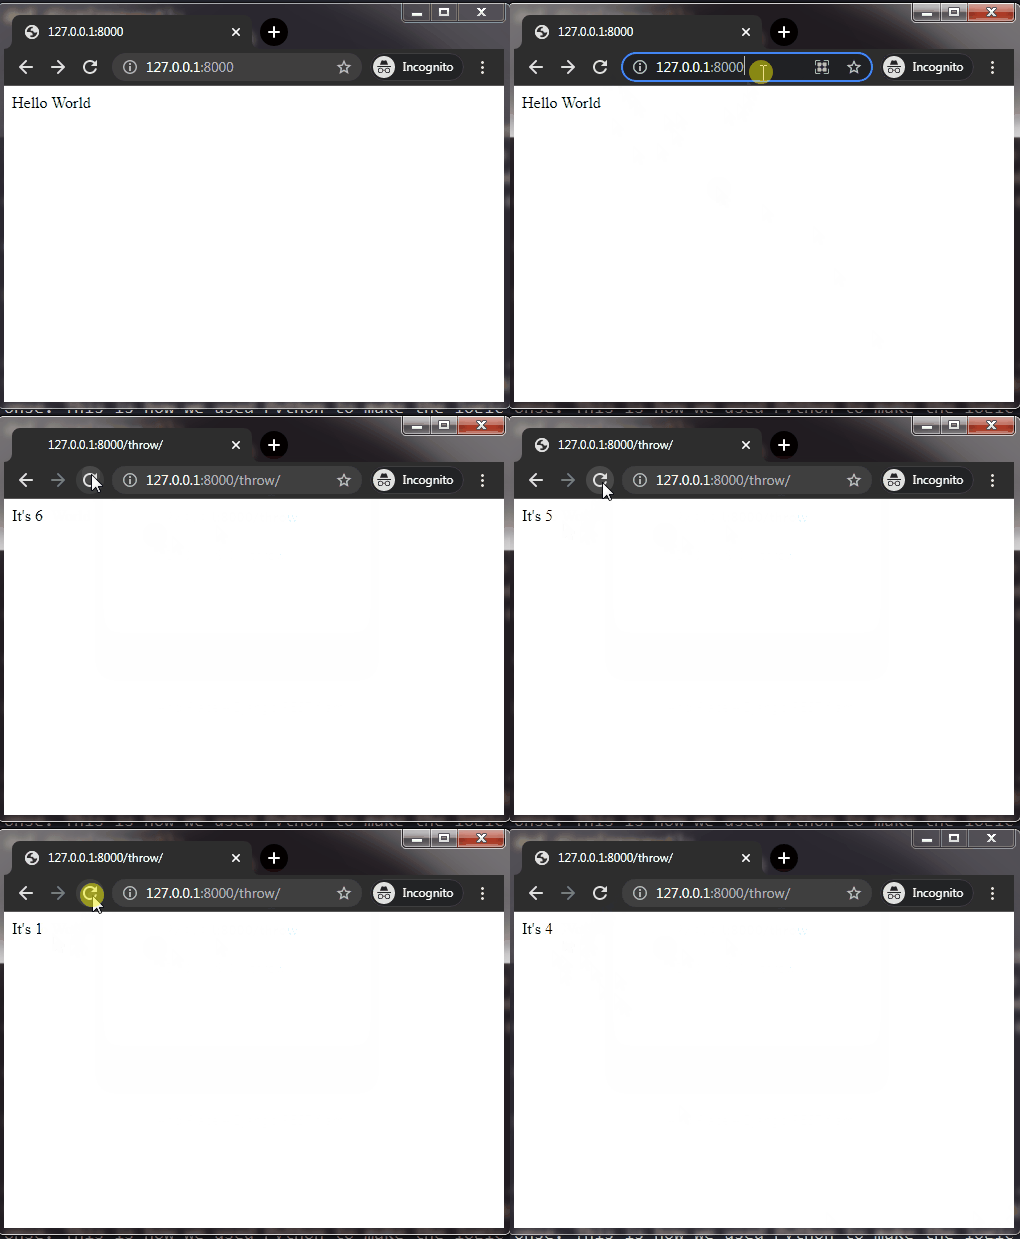
This view is using the random module, you can pretty much use other web-compatible modules or libraries. We have used the random.randint function to generate the pseudo-random number between 1 and 6. We have used the f-string (f"{variable}")styled Response string as int is not compatible with the response concatenation. So this is the logic of our map, now we'll need to link it to a URL-path.
project_name/app_name/urls.py
path('throw/', dice, name="dice"),
Also, import the view name from the views as from .views import dice also add other views if present. Now if we go to the URL https://127.0.0.1:8000/throw/, we shall see a random number in the response. This is how we used Python to make the logic of our view.

So, that was the basics of creating and mapping views and urls. It is the most fundamental of the workflow in Django project development. You need to get familiar with the process of mapping Views and urls before diving into Templates, Models, and other complex stuff.
Conclusion
From this part of the series, we touched upon the basics of views and URLs. The concept of mapping URLs and views might have been much cleared and it will be even gripping after we explore the Template handling and Static files in the next part. If you have any queries or mistakes I might have made please let me know. Thanks for reading and Happy Coding :)
